



If you have purchased a SmartPi with pre-installed software, you can skip this chapter.
You have 2 different options for installing the SmartPi software on your computer:
- Installation of a finished image
- Manual installation
Installation of a finished image
The simplest option is to install a ready-made image.
You can download a ready-configured image at https://files.enerserve.eu/smartpi/smartpi_trixie_arm64.7z.
Unlike the original Raspbian, many log files are moved to the ramdisk and some partitions are write-protected in the image. Download the image and unpack the file. You will need a program that can unpack 7-Zip files (Windows: http://www.7-zip.org).
Installation under Windows:
- Download the program
Win32DiskImager from https://sourceforge.net/projects/win32diskimager/
or Balena Etcher https://etcher.balena.io/ - Insert the SD card into the SD card reader of your PC
- Note the drive letter of the SD card. You can see the drive letter in the left-hand column of Windows Explorer, e.g. G:
- Run the previously downloaded program.
- Select the unzipped file (*.img) in the "Image File" field
- Select the drive letter of the SD card in the "Device" selection field and click on "Write"
- Wait until the writing is complete
Installation under Linux:
Use the command dd.
dd bs=4M if=path_of_your_image.img of=/dev/sdX conv=fsync
You can find more detailed information on this at:
https://www.raspberrypi.org/documentation/installation/installing-images/README.md
Balena Etcher is also available for Linux. We recommend the installation with the program.
Mac OS X:
Follow the instructions at:
https://www.raspberrypi.org/documentation/installation/installing-images/README.md
Manual installation
At this point we will explain the installation with the help of a Debian package. If you would like to build the program directly from the source code, please follow the information on Github.
The 64bit image from the Raspberry Pi website (https://www.raspberrypi.com/software/) is used.
Please install this according to the instructions on the website and create a smartpi user.
Install InfluxDB database
Here you will only find a brief installation guide. More information can be found at https://docs.influxdata.com/influxdb/v2/install/.
To install version 2 of InfluxDB used by the SmartPi, the package sources must be added manually:
wget -q https://repos.influxdata.com/influxdata-archive_compat.key
echo '393e8779c89ac8d958f81f942f9ad7fb82a25e133faddaf92e15b16e6ac9ce4c influxdata-archive_compat.key' | sha256sum -c && cat influxdata-archive_compat.key | gpg --dearmor | sudo tee /etc/apt/trusted.gpg.d/influxdata-archive_compat.gpg > /dev/null
echo 'deb [signed-by=/etc/apt/trusted .gpg.d/influxdata-archive_compat.gpg] https://repos.influxdata.com/debian stable main' | sudo tee /etc/apt/sources.list.d/influxdata.list
sudo apt update && sudo apt install influxdb2
sudo systemctl start influxdb
Please check whether InfluxDB is running:
sudo
systemctl enable influxdb
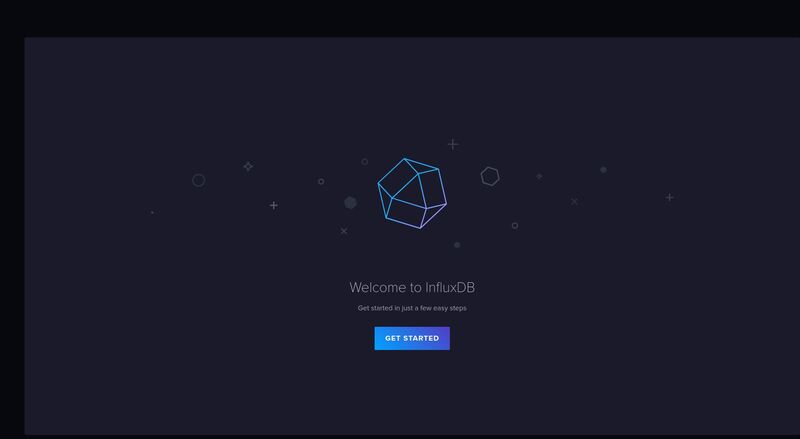
Log in to the InfluxDB web interface:
http://
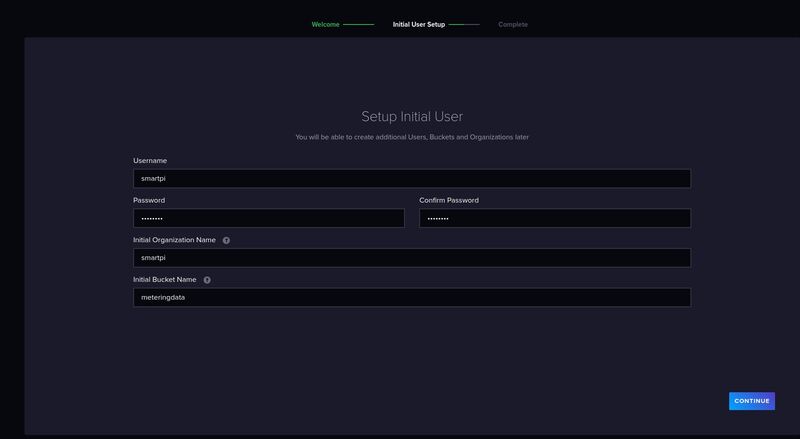
Create a user with the name smartpi and the password smart4pi.
Please use smartpi for Initial Organization Name and meteringdata for Initial Bucket Name.
You can of course use your own words for the user name and password. However, you will then have to adjust the configuration later.
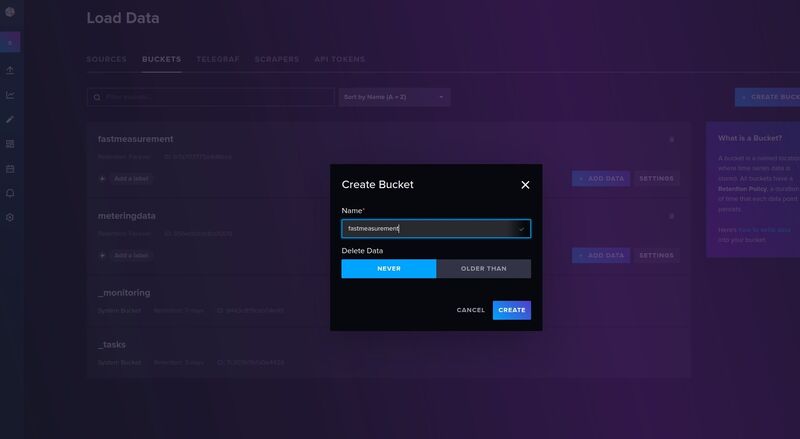
Log in and create another bucket with the name fastmeasurement.
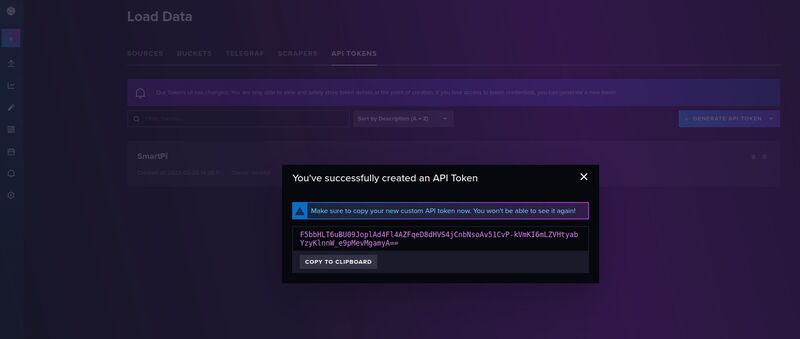
Create an API key (token) and keep it safe. You will need this later to be able to write data to the InfluxDB.
Add package sources for Grafana
wget -q -O - https://packages.grafana.com/gpg.key | sudo apt-key add -
echo "deb https://packages.grafana.com/oss/deb stable main" | sudo tee -a /etc/apt/sources.list.d/grafana.list
sudo apt update
sudo apt upgrade
Install Node-Red
To install Node-Red, please execute the following commands:bash <(curl -sL https://raw.githubusercontent.com/node-red/linux-installers/master/deb/update-nodejs-and-nodered) systemctl enable nodered systemctl start nodered
Install additional packages:
sudo apt-get install -y i2c-tools, sqlite3, libpam0g, npm, grafana, watchdog
sudo systemctl start grafana-server
sudo systemctl enable grafana-server
You can use the command
sudo systemctl start grafana-server
check whether Grafana is running.
Create Tempf's file systems:
We strongly recommend that you create a temporary file system for safe operation. This protects the SD card.
Therefore, open /etc/fstab with a text editor of your choice (e.g. sudo nano /etc/fstab) and add the following entry:
tmpfs /var/tmp/smartpi tmpfs nodev,nosuid,size=20M 0 0
To protect the SD card, we strongly recommend the following additional entries in /etc/fstab for secure 24/7 operation:
tmpfs /var/log tmpfs defaults,noatime,mode=1777,size=10M 0 0
tmpfs /var/tmp tmpfs defaults,noatime,mode=1777,size=30M 0 0
tmpfs /tmp tmpfs defaults,noatime,mode=1777,size=20M 0 0
Install the SmartPi software from the package:
wget [address of the package] (to be found under  Downloads)
sudo dpkg -i [name of the package]
After a restart with
sudo reboot
the SmartPi is ready for use.