



The e.manager has a web interface through which you can make all settings. To reach the web interface, you must be on the same network.
Access
In its factory settings, the e.manager is set to DHCP. This means that the e.manager is assigned an IP address by the router.
To access the e.manager, there are several ways to find out its local IP address.
Serial number
http://seriennummer => Example http://END123456789
Router
IP scanner
Example: Angry IP Scanner
Check page
- Serial number
- Version
- MAC
- IP address
- Current power
- Virtual system
- Last data transmission
- Last login
Emergency IP
Encryption
The web interface uses SSL encryption, i.e. if you open the web interface via http, you are automatically redirected to https.
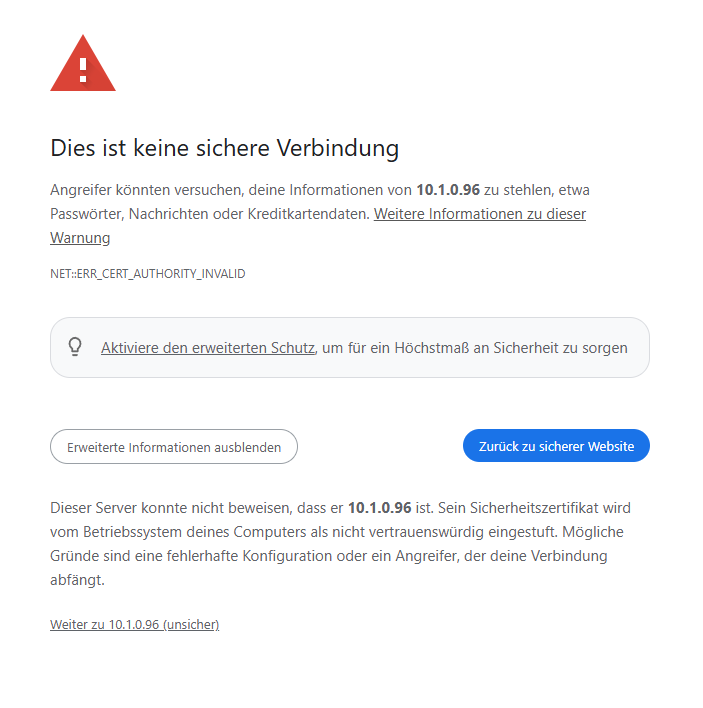
As the certificate is self-signed, the web browser displays a security warning. You must bypass this security warning to reach the website.
Layout
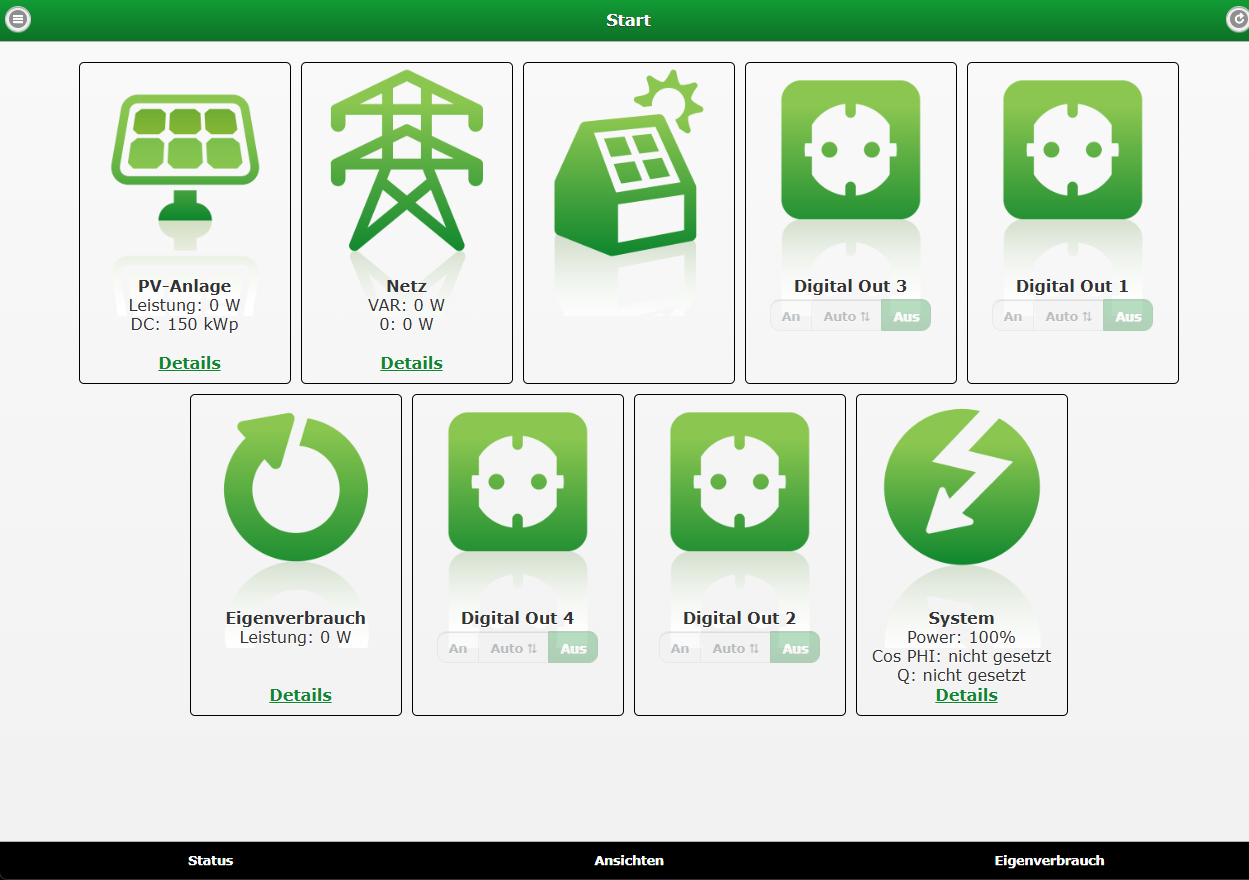
On the start page you will find icons showing the current power values. Their appearance depends on the configuration.
In the bottom bar you will find the items Status, View and Self-consumption.
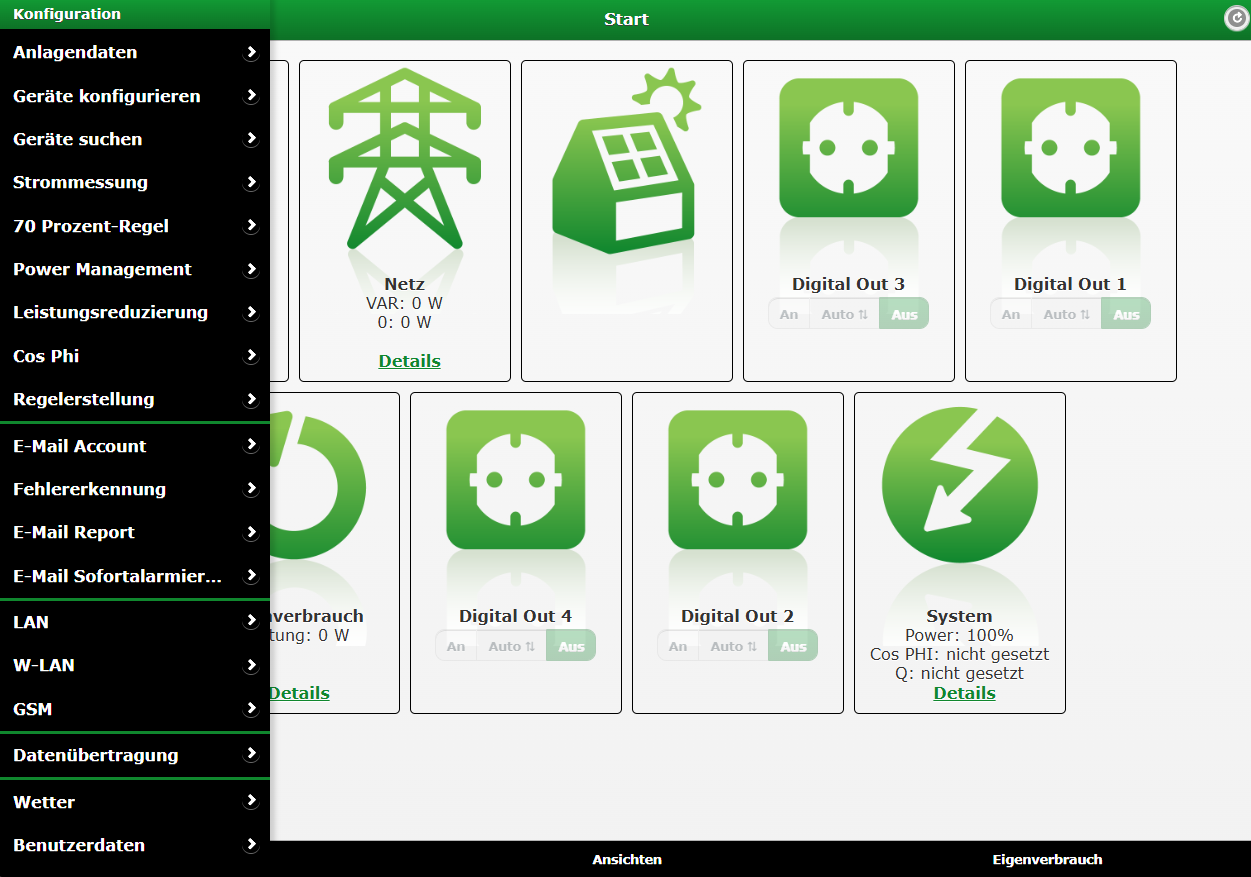
You can open the configuration menu using the button in the top left corner.