


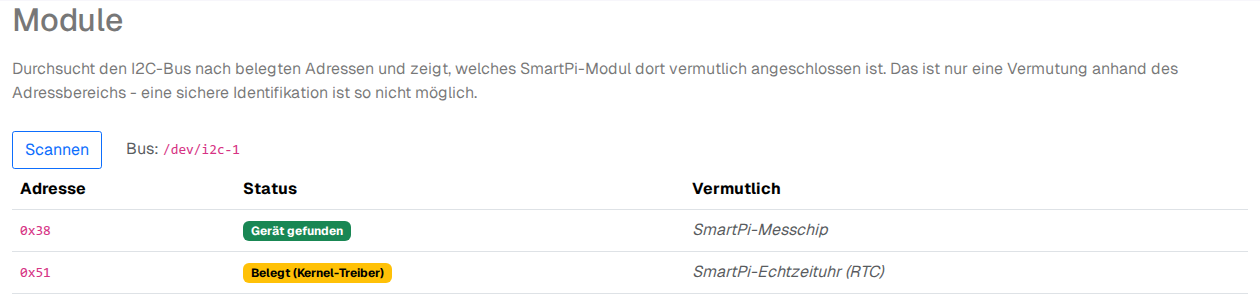
- The Scan button starts the scan (showing "Scanning…" while it runs).
- Results table with the columns:
- Address: the I2C address, e.g.
0x38. - Status: "Device found" (green) or "Occupied (kernel driver)" (yellow, if the address is already occupied by a Linux kernel driver).
- Probably: an estimate of which module is located there. Two addresses are definitely known and are shown without "probably":
0x38= SmartPi measuring chip,0x51= SmartPi real-time clock (RTC). Other detected ranges are shown as "probably: e.digital out", "probably: e.analog in" or "probably: e.4-20mA out".
- Address: the I2C address, e.g.
Example: a newly connected e.digital out module should appear after the scan with "Device found" and the estimate "e.digital out" – this lets you check that the wiring is correct before you set up the module in the actual configuration.